Preparation in advance: How to toughen up your feet for the Camino de Santiago
Before walking the Camino de Santiago, you must keep in mind that skin toughening and muscle adaptation are achieved weeks before starting the journey. The most important factor in preventing chafing is breaking in your footwear; you should accumulate a minimum of 150 to 200 kilometers of training with the exact shoes and the same socks you will use on your trip.
Furthermore, on a dermatological level, it is necessary to toughen the skin without drying it out. One of the best solutions, backed by podiatrists, consists of soaking your feet in warm water with coarse salt for 10 minutes three times a week, which helps strengthen the epidermis. However, if you suffer from thin or flaky skin, it is recommended to use creams with a high urea content at night during the previous month; this will create an elastic and resistant barrier that will withstand continuous friction.
The morning ritual: Protect your feet before the stage
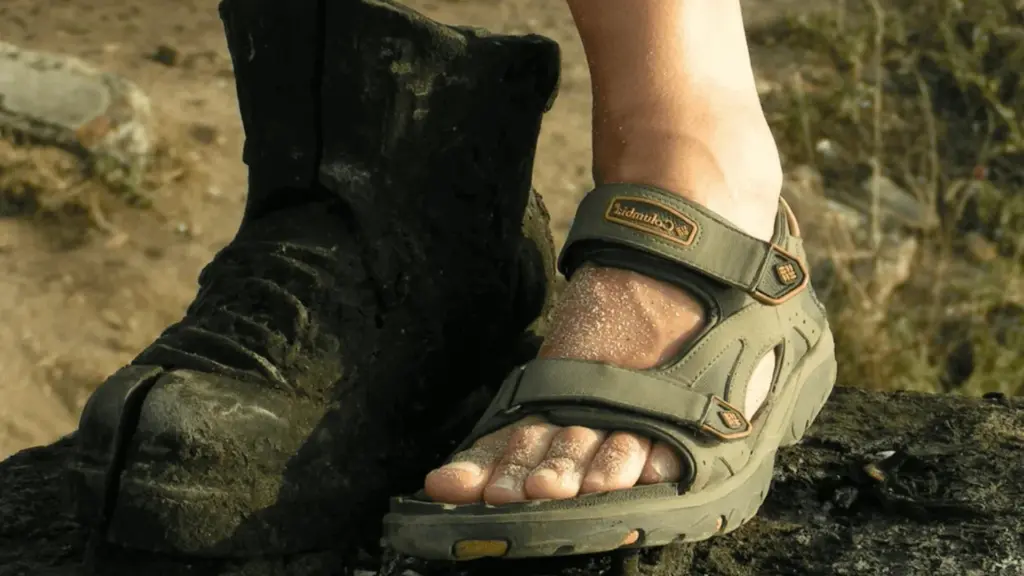
Before starting the day’s walk, it is necessary to spend 10 minutes at the hostel armor-plating your feet:
- Inspection and Drying: Make sure your feet are clean and 100% dry, checking especially the spaces between your toes to prevent moisture from softening the skin.
- Applying an Anti-Friction Barrier: Spread a generous layer of pure Vaseline, shea butter, or anti-friction cream over your foot. Distribute it well across the areas of maximum rub: the heel, sole, arch, and the sides of your toes.
- Protection of Conflict Zones: If you have sensitive spots where you usually suffer from chafing or blisters, apply medical tape or hydrocolloid dressings to act as a second skin.
- Putting on Technical Socks: Use specific socks made of merino wool or synthetic fibers like Coolmax (cotton is forbidden). Stretch the sock as you put it on to eliminate any wrinkles; a single fold trapped inside your shoe will cause a pressure blister in less than two hours of walking.
How to take care of your feet during the stage?
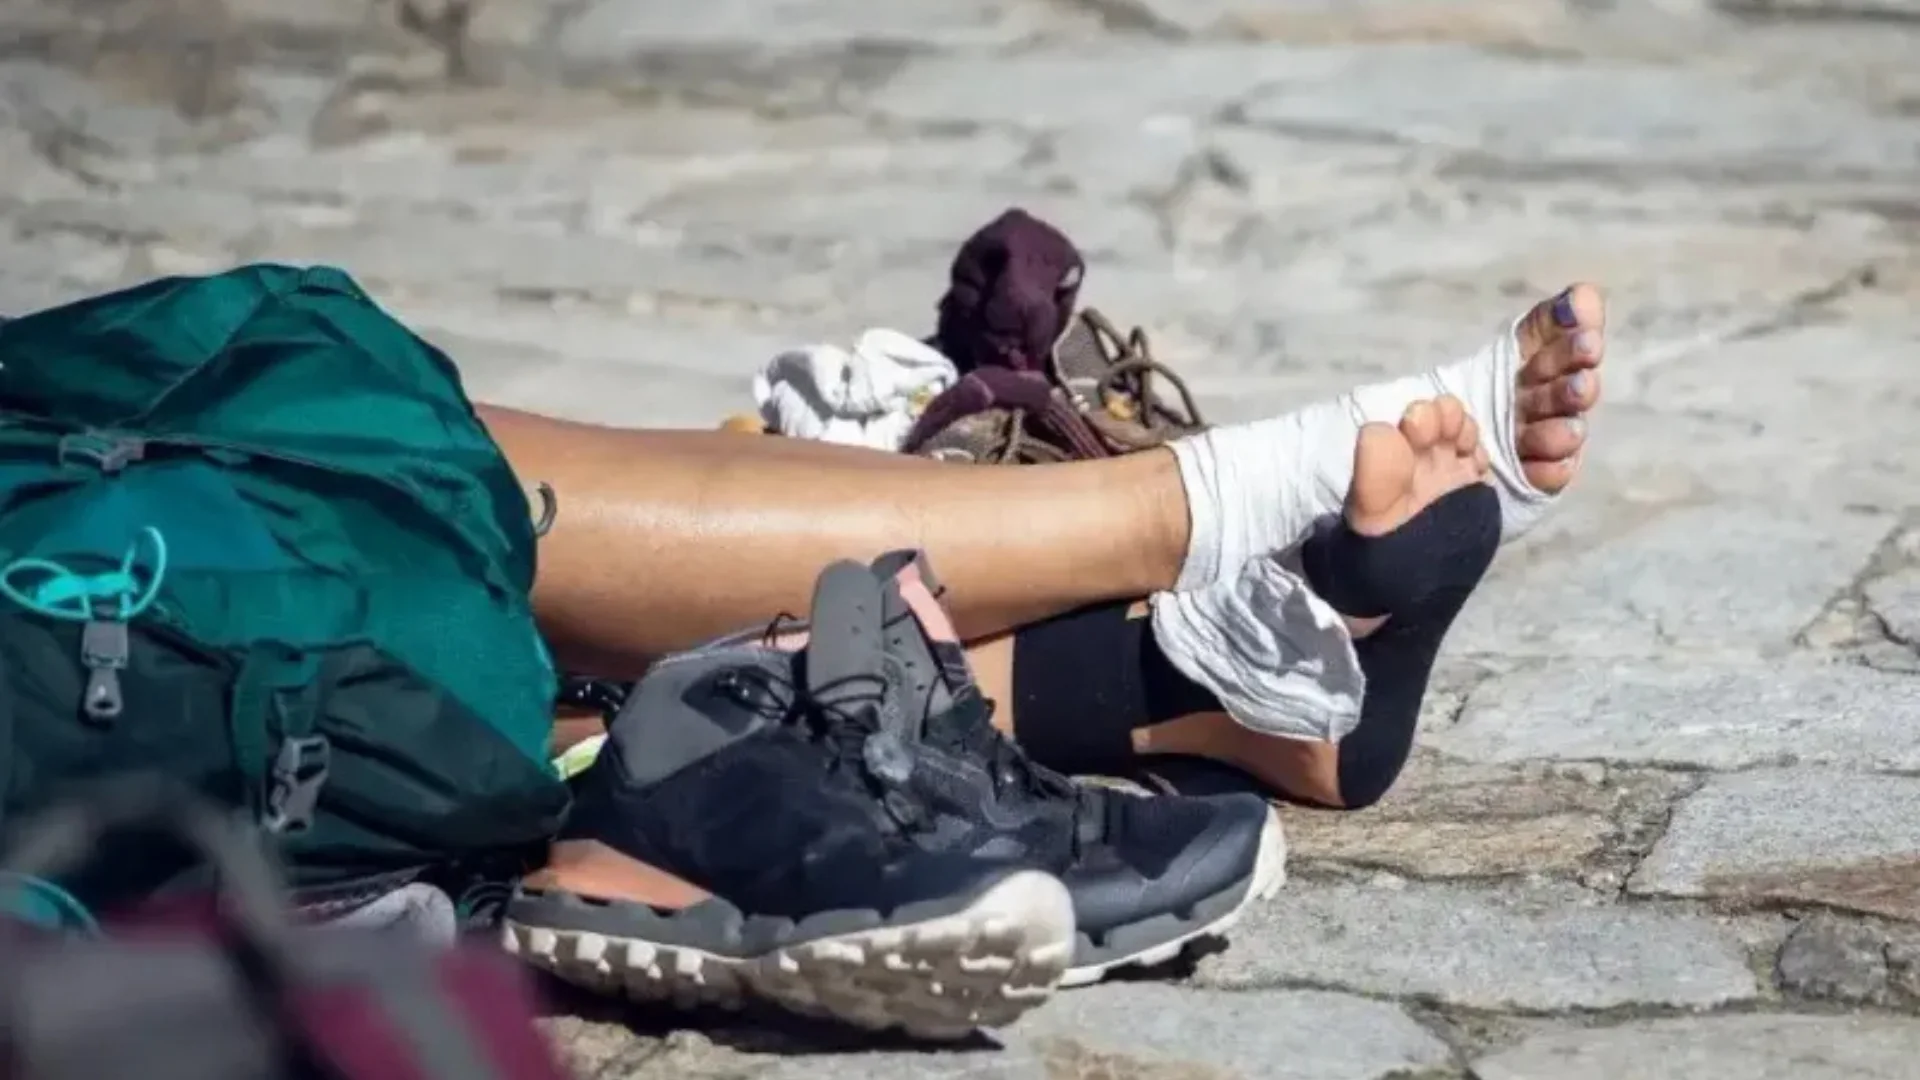
To keep your feet well cared for during the stages, constant monitoring and early detection are necessary. At the slightest symptom of stinging, itching, or what podiatrists call a “hot spot,” you must stop walking immediately, take off your footwear, and check the area. It is preferable to readjust a sock or add more Vaseline than to drag along an open blister.
If the day is hot or the hike lasts more than four hours, it is highly recommended to make a stop halfway through to air out your feet. Take off your footwear and socks for 15 minutes in the shade to eliminate any remaining sweat. If you notice that your sock is wet or damp, replace it immediately with the dry spare pair that you should always keep handy.
Foot care in cycling: Avoid “burning feet” syndrome
For cyclists completing the Camino de Santiago, their legs and feet suffer from a specific condition called “burning feet syndrome” or paresthesia. This condition manifests as an annoying tingling, numbness, or burning pain in the metatarsal area. This is caused by the continuous pressure of the nerves on the sole of the foot against the pedal, worsened by the heat and natural inflammation generated by sustained effort.
To solve and prevent this problem, you must check three key points:
- Cleat Placement (SPD system or similar): A cleat that is too far forward or too far back puts pressure on nerve endings; look for the exact alignment with the bunion (first metatarsal head) and the pinky toe.
- Avoid tightening your cycling shoes to the maximum first thing in the morning; your feet expand over hours of pedaling.
- If pain appears, get off the bike, take off your shoes, and walk for a few minutes on a cool surface to reactivate blood circulation.
The foot recovery ritual upon arriving at the albergue
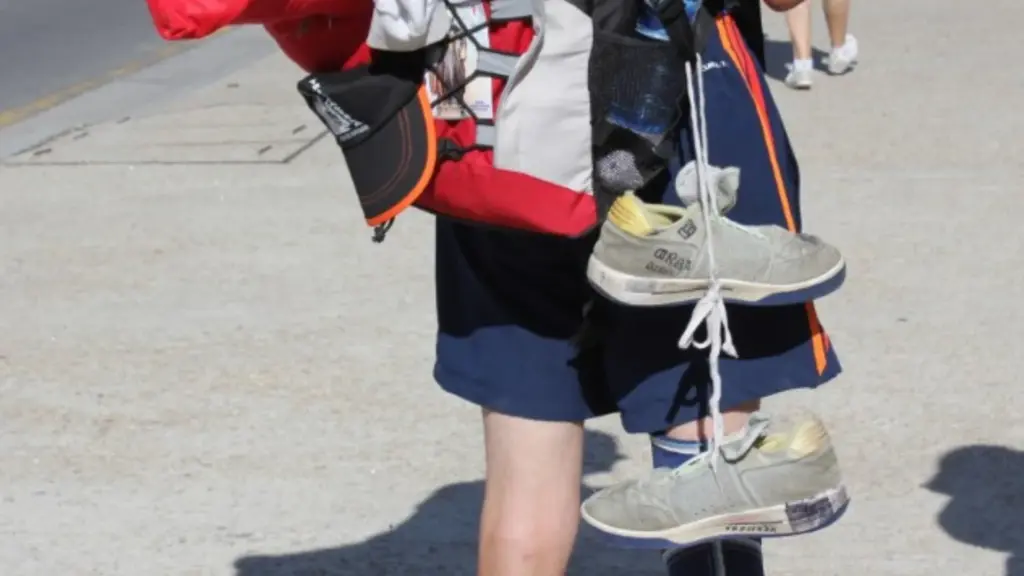
Upon finishing the stage and arriving at the accommodation, it is necessary to perform this recovery protocol to reduce tissue inflammation and eliminate lactic acid from your legs:
- Thermal contrast in the shower: Take off your shoes and wash your feet and legs with cold water. This action produces a vasoconstriction that reduces swelling and relieves muscle heaviness in the calves and quadriceps.
- Drying and inspection: Dry every single part of your foot with the towel. Take the opportunity to check for redness, chafing, or small “hot spots.”
- Ascending self-massage: Apply a cold recovery gel, spreading it by massaging with your hands in an upward direction.
- Elevation of the extremities: Once lying down on the bunk bed, keep your legs elevated above the height of the heart. This exercise will accelerate the elimination of accumulated fluids and muscle recovery for the next day.